I recently had a conversation with a friend who bought a home about six years ago in a suburban area outside Seattle, WA. The home is around 30 years old and, like many homes of that age, has a vented crawlspace.
At some point, the home had a significant rodent issue. He hired a pest control company, and they’ve been maintaining bait stations ever since—about $100 per visit.
The rodents are mostly gone.
But the real problem? Still there.
The Hidden Issue Beneath the Home
Once the infestation was under control, he started noticing the damage:
- Wet, compressed insulation
- Rodent droppings and contamination
- Moisture staining on the vapor barrier
So he called a crawlspace company, who proposed replacing insulation, installing a thicker vapor barrier, and doing some basic air sealing.
What they didn’t recommend was the one thing that actually addresses the root of the problem:
Crawlspace encapsulation
The Problem with Vented Crawlspaces
Most older homes have vented crawlspaces. The idea was simple: let outside air flow through and “dry things out.”
In reality, especially in climates like the Pacific Northwest, this approach often backfires.
Here’s what actually happens:
- Damp outside air enters through vents
- That moisture accumulates in the crawlspace
- Insulation absorbs it and becomes ineffective
- Organic materials (wood framing) are exposed to prolonged humidity
Now add another critical factor most homeowners don’t realize:
Your Crawlspace Affects the Air You Breathe
Due to something called the stack effect, air naturally moves from the bottom of your home to the top.
As warm air rises and exits through the upper levels, it pulls replacement air from below.
Up to 50% of the air inside your home can come from the crawlspace.
That means whatever is in your crawlspace is being brought directly into your living space:
- Moisture
- Musty odors
- Mold spores
- Rodent contaminants
- Dust and insulation fibers
So when a crawlspace is damp, dirty, and vented to the outside… your indoor air quality suffers.
Why Replacing Insulation Isn’t Enough
The proposed repair in my friend’s case focused on:
- Removing damaged insulation
- Replacing the vapor barrier
- Installing new fiberglass
But here’s the issue:
If the crawlspace environment doesn’t change, the new materials will fail the same way the old ones did.
You’re essentially resetting the clock—not solving the problem.
What Encapsulation Actually Does
Crawlspace encapsulation changes how the space functions entirely.
Instead of treating it like an outdoor environment, it becomes a controlled, indoor-like space.
A proper encapsulation includes:
1. Sealing the Crawlspace from Outside Air
- Closing and sealing all vents
- Air sealing gaps and penetrations
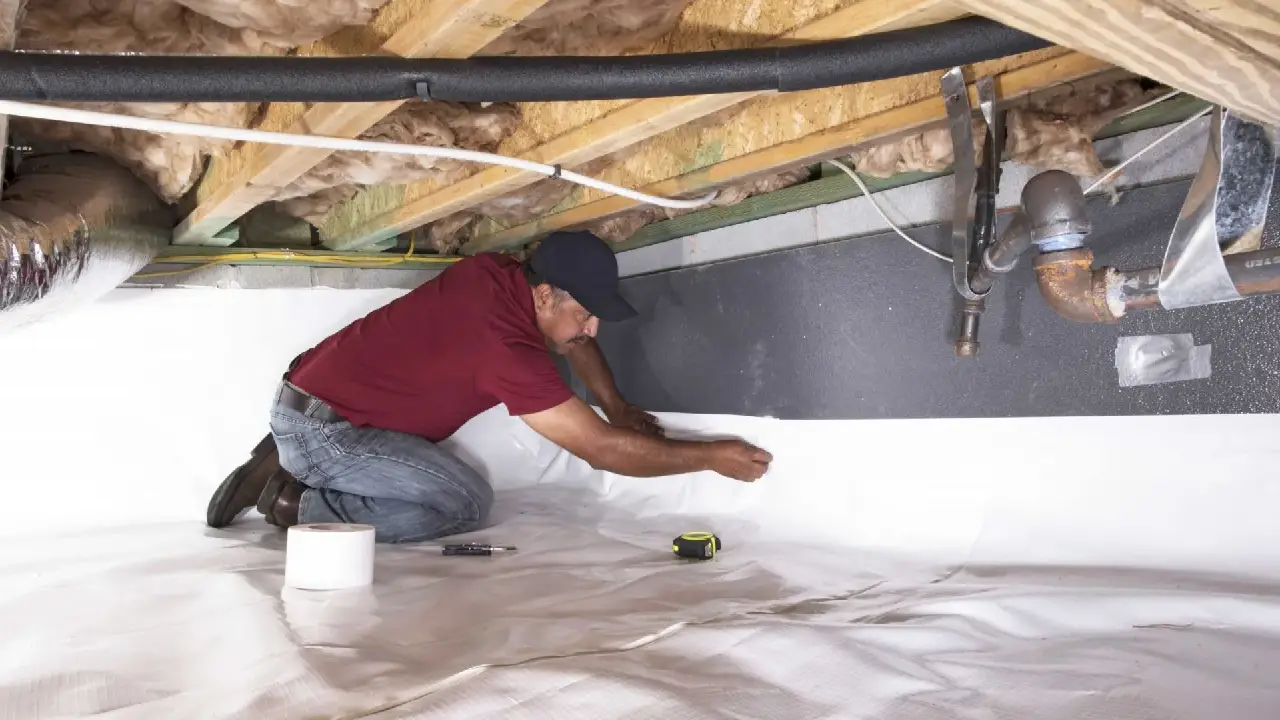
2. Installing a Continuous Vapor Barrier
- Heavy-duty liner (typically 10–20 mil)
- Sealed at seams, walls, and piers
3. Controlling Moisture
- Often with a dedicated dehumidifier
- Keeping relative humidity at safe levels
4. Moving the Thermal Boundary
- Insulating crawlspace walls instead of the ceiling
- Bringing the crawlspace into the home’s conditioned envelope
Why This Matters for Health, Comfort, and Durability
When a crawlspace is properly encapsulated:
- Indoor air quality improves
(because you’re no longer pulling contaminated air into the home) - Moisture is controlled
(reducing mold risk and material degradation) - Energy efficiency increases
(especially if ducts are located in the crawlspace) - Pest issues are less likely to return
(because the environment is no longer favorable)
The Bottom Line
My friend is currently paying for pest control and being quoted thousands to replace damaged materials.
But without addressing the crawlspace itself, those problems are likely to come back.
Here’s the truth:
If you don’t control the environment, you can’t control the outcome.
And when up to half the air you breathe comes from that space…
…it’s not just a crawlspace issue.
It’s a whole-home issue.